Drop Downs
If you have a form in which you would like to leverage a Drop Down or a Drop Down Custom Field within your CRM that syncs to Net-Results, you will first need to create a Net-Results Drop Down. Creating and leveraging Drop Downs in Net-Results forms and Field Mappings is easy, but takes a quick setup first. We will guide you through the creation of these field types in your Net-Results account.
Drop Downs in Goldilocks
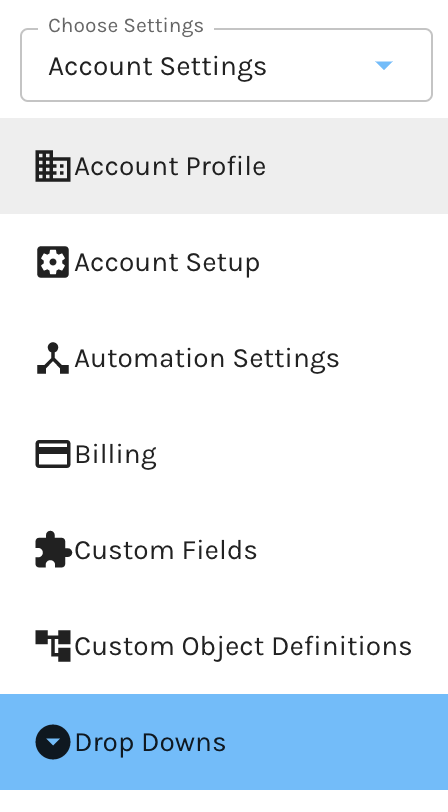
To access your Drop Down Dashboard in Goldilocks, navigate to your user in the top right corner and select ‘Account Settings’. On the left-hand side, hover your mouse and a bar will appear. Select the option ‘Drop Downs’.
Once selected, you will be taken to your Drop Down Dashboard. Here is where you can manage all Drop Downs or create a new Drop Down.
Creating a Dropdown in Goldilocks
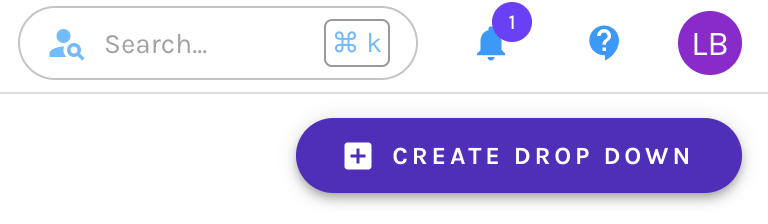
To create a new Drop Down, in the top right corner of the app, select ‘Create Drop Down’.
Once selected, a folder will appear. Here you will give your Drop Down a name and then select ‘Create Drop Down’. Upon creation, you will then be asked to create options for your Drop Down. This is where you will input any fields which you would like present on your form, or match fields that are present on your Drop Down within your CRM that you would like to sync to Net-Results.
To add options, on the bottom of the folder, select ‘Create New Option’. After adding your option, select the checkbox and the field will be added.
You can add as many fields as you would like to your Drop Down. You also have the ability to drag and drop to re-organize.
Editing a Drop Down in Goldilocks
The Drop Down Dashboard allows you to edit Drop Downs created within your Net-Results account. To edit a Drop Down, on the dashboard, hover over the ‘Actions’ option of the Drop Down. Here you can select ‘Delete’ or ‘Edit’.

Editing allows you to:
- Update the Drop Down name
- Select the pencil icon of each option to edit the value of the option
- Delete an option
- Drag and Drop to re-organize how the options appear in the Drop Down.
Drop Downs in Net-Results’ Classic
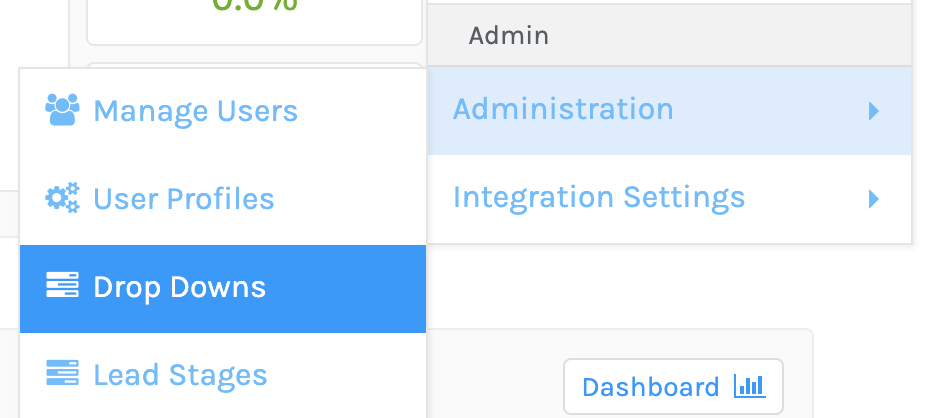
To access your Drop Down Dashboard in Net-Results Classic, navigate to your user in the top right corner > Administration> Drop Downs.
Once selected, you will be taken to your Drop Down Dashboard. Here is where you can manage all Drop Downs or create a new Drop Down.
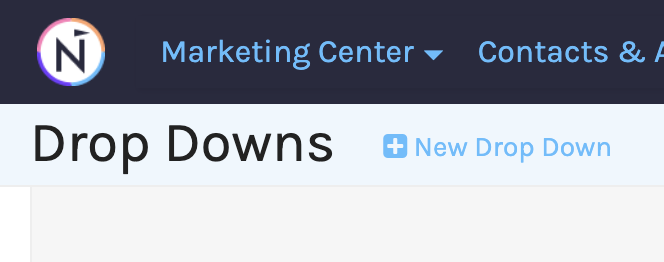
Creating a Drop Down in Net-Results’ Classic
To create a new Drop Down, in the top left corner of the app, select ‘New Drop Down’.
Once selected you will be taken to the Drop Down edit page. Here is where you can give your Drop Down a name, and add any option you would like to the Drop Down.
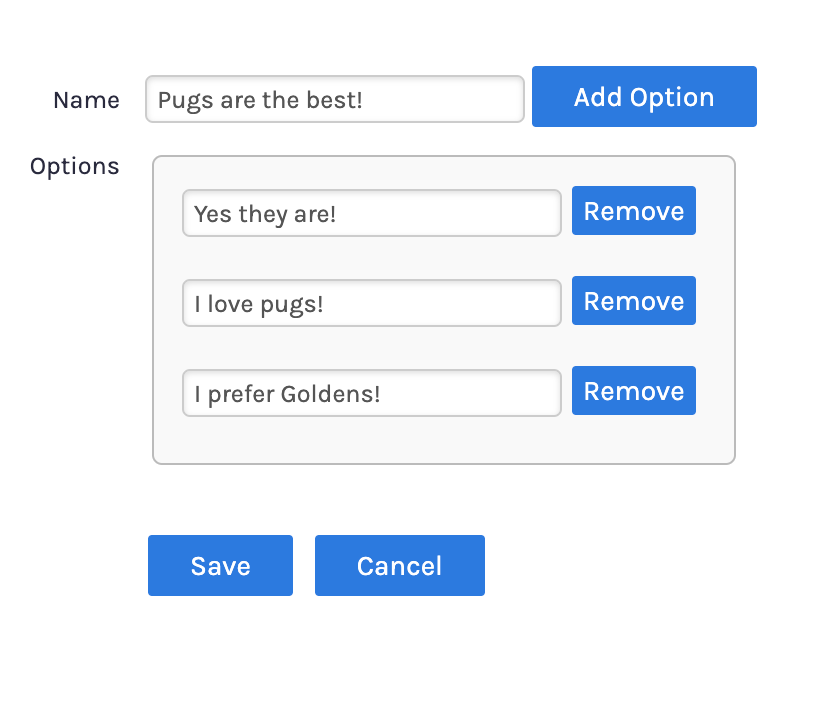
To add more options, select ‘Add Option’. You can add as many options as you would like to your Net-Results Classic Drop Down.
Once all options have been added, select ‘Save’.
Editing a Drop Down in Net-Results’ Classic
To edit any Drop Downs within Net-Results Classic, on the Drop Down dashboard, select the Drop Down name or the pencil icon on the right-hand side of the Drop Down.

Once selected you can edit the Drop Down name, edit any Drop Down option, or delete. You can also add new options.
Selecting the ‘X’ icon will allow you to delete the Drop Down from your account.