What is a Drip Series Automation?
Drip Series Automations are a streamlined way to do one thing: send an email or text or a series of emails/texts. A Drip Series Automation should be used when you want contacts to get all the emails that are in the campaign, regardless of the actions they take after receiving an email.
Good use cases for a Drip Series Automation include (but are not limited to):
- Monthly Newsletters
- Product Updates
- Holiday Updates
- Quick One-Off Emails
If any other action will be required of the automation (such as adding contacts who engage to a list) or you don’t want all participants of the automation to receive all emails, you must use a Nurture/Workflow Automation
Drip Automation Intro
When creating your very first Drip Series Automation in Net-Results, you will be taken to a Drip Series Automation Intro. This intro highlights the Drip Series Automation capabilities and step-by-step directions on how to set up your very first Drip Series Automation. This Intro tab can be turned off for future Drip Series Automation creations.

Settings Tab
The Settings tab is where you’ll make a number of important high-level decisions about how you’d like the campaign to work.
These decisions include whether the campaign will run One Time or as a Perpetual (ongoing) automation, the Launch Date and Time, and which UTM tags you wish to use. In addition, you can specify an email address to send automation reports to at a selected interval.
Settings Definitions
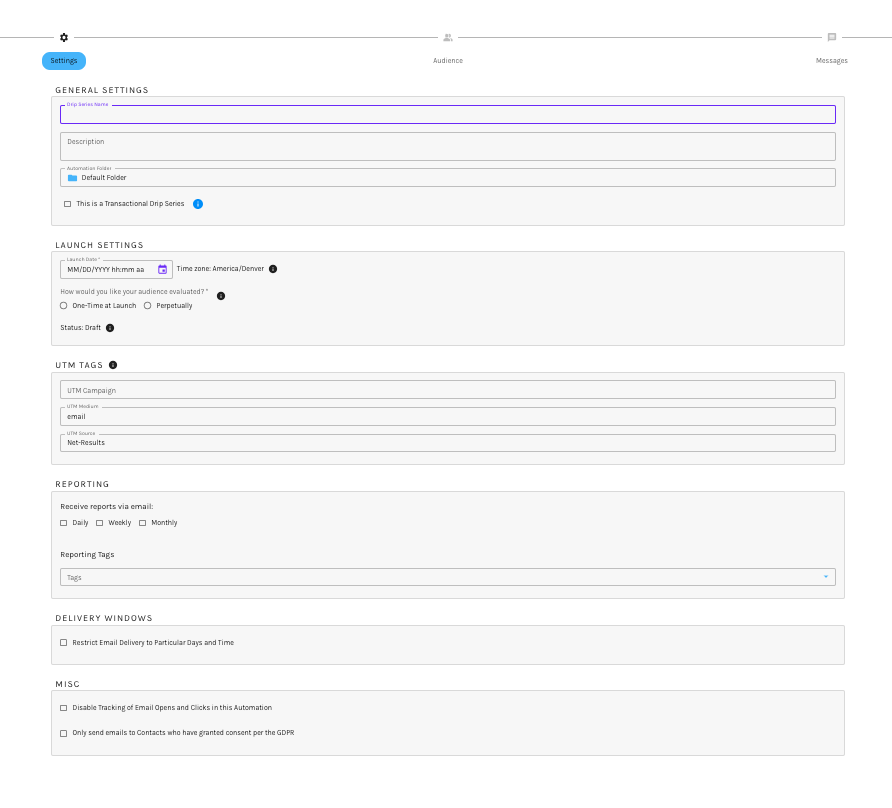
General Settings
- Drip Series Name – Name the automation. We suggest being specific so that you can easily tell what this automation was in the future!
- Description – If you’d like to write a description of this automation, you can do so here.
- Store In Folder – You can organize automations in folders so that you can easily find them on the My Automations page. You will need to create the folder ahead of time on the My Automtions page, but you can select it on the Automation Settings tab!
- This is a Transactional Drip Series // Checkbox – Mark this checkbox if you would like to send out a mass transactional email to a group of contacts. NOTE: Not for Marketing Emails. Please only use this for transactional purposes.
NOTE: Not for Marketing Emails. Please only use this for transactional purposes.
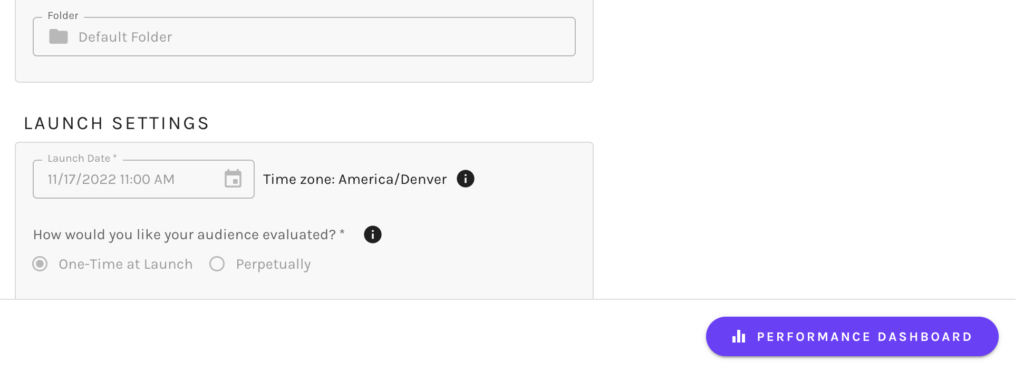
Launch Settings
- Launch Date – Choose your launch date! You can also set a launch time here!
- Evaluate Audience –A One-time automation will check for qualifying participants just once. If someone meets the conditions for the campaign after a one-time qualification occurs they will not be included. Meanwhile, a Perpetual campaign will check for new participants periodically and may add to the number of contacts who are able to receive the campaign.
- Retirement Date – Only used when working with Perpetual Campaigns here is where you can choose whether you would like the campaign to never retire, or if you’d like it to run perpetually for a month and then retire. The options you can choose from are listed as:
- Do Not Automatically Retire
- Automatically Retire On (you set the date
- Status – Your automation at any point in time will be in a status of Draft, Launched/Active, Launched/Paused (if at any time you pause your campaign), or Retired.
UTM Tagging
- Tagging automations with a keyword that identifies the campaign can be helpful for future reporting! If you send monthly newsletters, tagging the automations with “monthly newsletter” will allow you to pull a report for all automations tagged with “monthly newsletter” in the future!
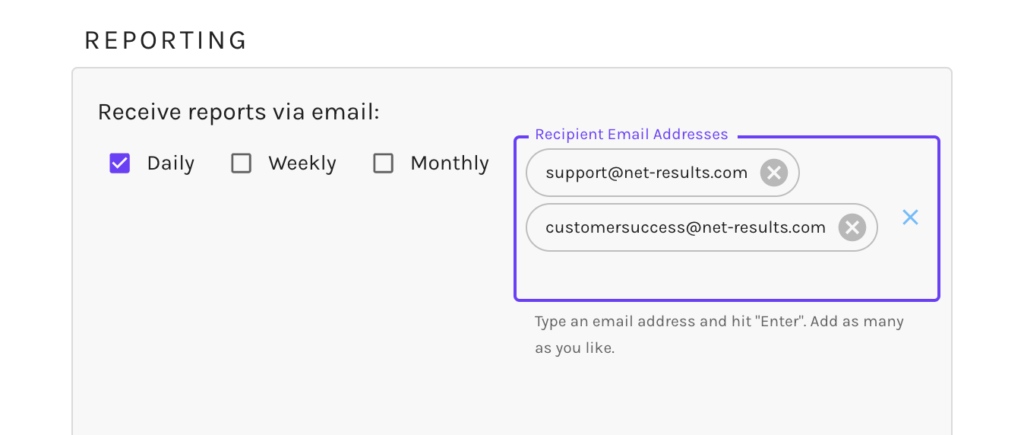
Reporting
- Automation Reports – Instead of creating a scheduled report, you can go ahead and choose to get a campaign report right from the Automation Settings tab! These can be delivered on a daily, monthly, or weekly cadence.
- Upon selection of a campaign report frequency, you can choose any recipients of your choosing to send these reports to.
- Reporting Tags: Tag your automation for later use in reporting and segmenting!
Delivery Windows
- Email Delivery Windows – Gives you the ability to send emails only on specific days and even only during certain times of the day. Something to note with delivery windows is when leveraged, it will delay the emails sends by one hour. This is a check put in place to ensure we are not delivering emails outside of your windows.
MISC
- Disable Tracking of Email Opens and Clicks in this Automation – Allows you send a automation with non-trackable emails. This is on the automation level – if this option is selected all emails in the automation will be non-trackable.
- UTM Campaign Tagging Enabled – You can enable UTM tagging on a campaign-by-campaign basis by checking this box, OR you can enable automatic UTM tagging on the account level.
Participants
You guessed it! The participant’s tab is where you will decide which contacts will be able to qualify for the automation. This could be something as simple as a list of contacts or as complex as a built-out segment identifying contacts based on specific information contained in their Contact Detail such as Company, Title, or even personally identifiable information (PII) for this campaign.
When working on the Participants tab, you will have three options: Simple, Advanced & Use Existing Global Segment
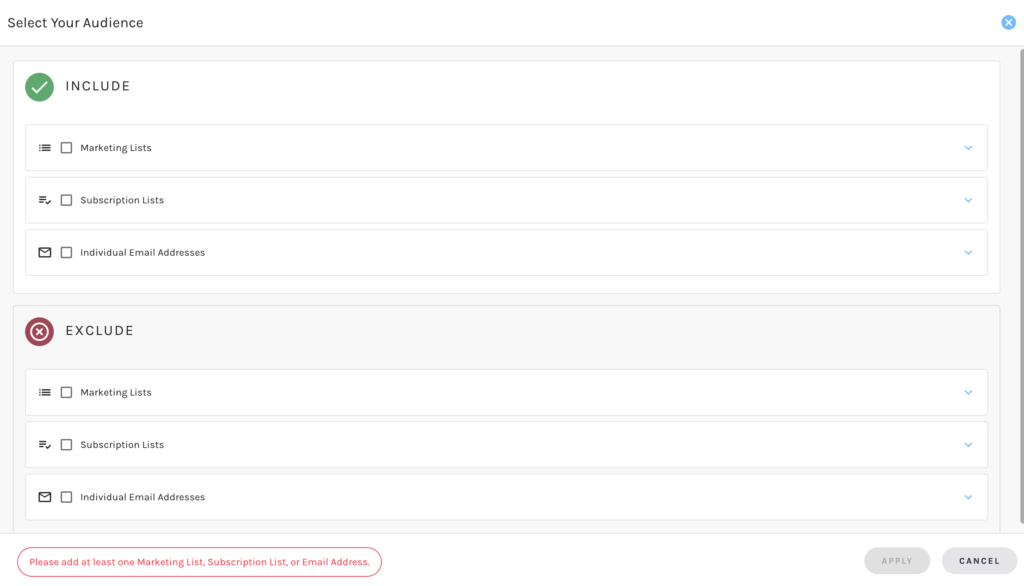
Simple Conditions
When working on the Simple View, you can only include/exclude marketing lists, marketing subscriptions or specific individuals. It’ll look like the below:
Advanced Conditions
The Advanced Conditions option will take you to our Net-Results Segment Builder.
The Advanced View is where you can build out criteria such as:
- Lead Stage Does Match “Prospect” AND State Does Match “Colorado”
The above means that only contacts who have a lead stage of “prospect” and a state that matches Colorado will qualify!
There are a lot of different conditions that you can segment off of, to learn more about those check out our Segments section!
Use Existing Global Segment
Quickly import any existing Global Segment built within your account and use this as your audience of your Drip Automation. To import an existing Global Segment, type to filter/select your segment. Our dropdown also allows you to sort your segments ascending and descending via Name, Created At date & Updated at Date.
Once your audience has been selected, you are able to save and view contacts who qualify for your Automation via the “View Qualifying Contacts” button.
Drip Automation Actions
Adding an email or text message to a Drip Automation is super easy & you can add as many emails and text messages as you’d like! When you initially go to the Actions tab, you’ll be greeted with an area to choose your first message! It’ll look a like the below:
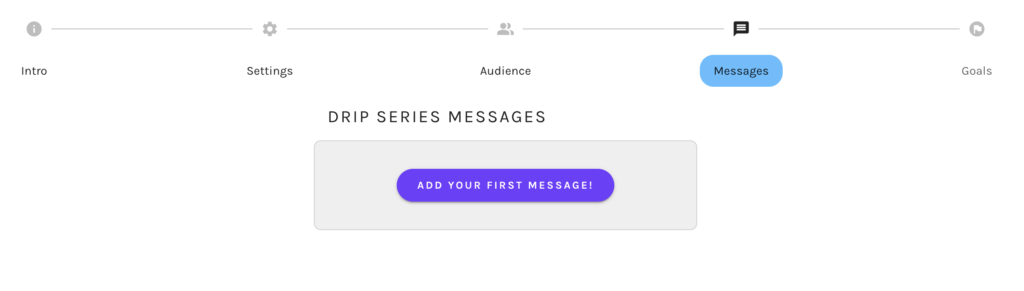
Adding Your First Message to a Drip Automation
Choose the email or text message that you have created for this Automation from the drop down. To do so select “Add Your First Message”.
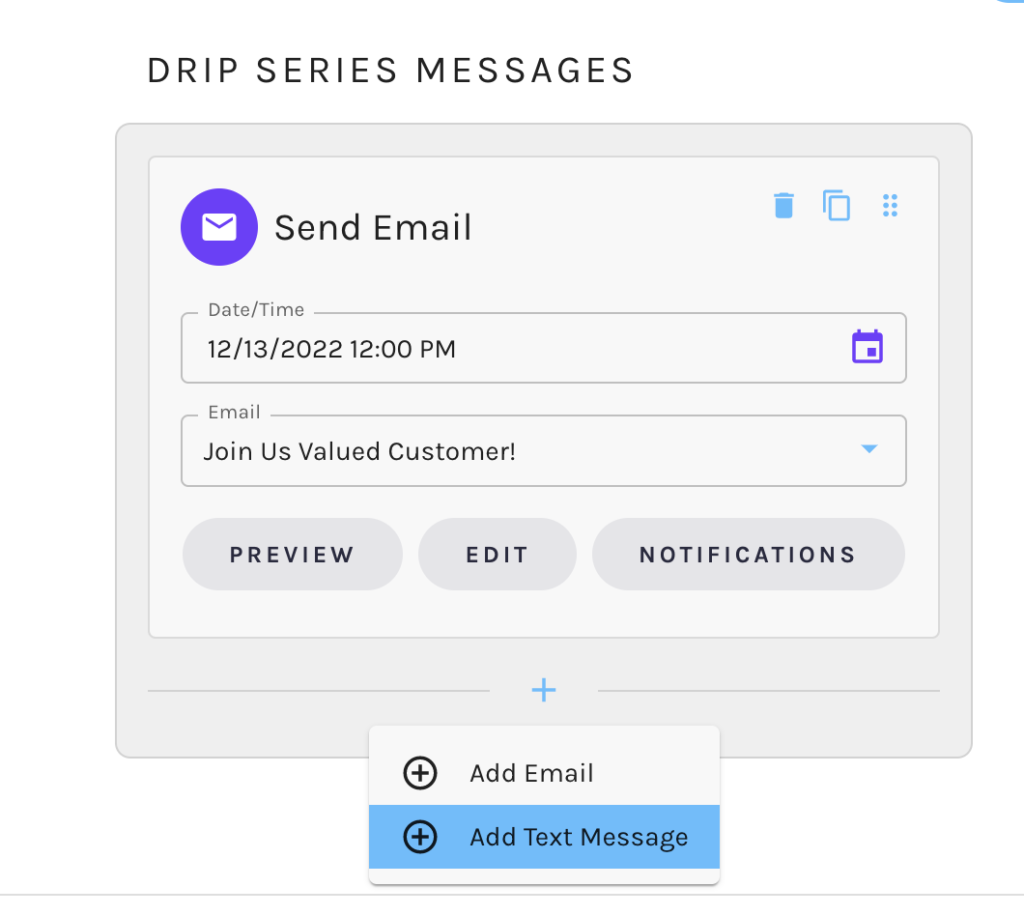
You will be prompted to first select you messages date and time. Then from here, via the drop town, type to select your email.
Then if you want to, configure some notifications! When you configure a notification, you are asking the system to let you know when something happens and who to tell about it. You can set up notifications for:
- When this specific campaign branch executes – Meaning when this email is sent. If this is perpetual, it’ll alert you whenever this email is sent! Even if the email is triggered 3 weeks from the launch date.
- When This Email is Clicked
- When This Email is Opened
Adding Additional Messages to your Drip Automation
To add another email or a text message to this Drip Series Automation, just click the blue plus sign underneath your first email module! Once added, you can then select the send date and time, and email or text message.
Drip Automation Stats
After the launch of your Automation, your Automation Stats will be available via the Performance Dashboard. You can access this on the right-hand corner of your Automation.
Automation Performance

Starting from the far left, we’ll go over what all of these pieces do & how they can interplay together.
- Set Date Range: It’s important to always pay attention to the date range! If your stats ever look a little funky to you, check out the date range and make sure it is set to encompass the days when any activity could have occurred!
- Select an Automation: This is where you can switch Automations and take a look at stats for another Automation!
High-Level Campaign Information
Near the title of your Automation, you will find an information icon. This provides you with all the top-level information about your Automation.
- Type – This will tell you the exact type of campaign that you are looking at stats for
- Check For Participants – Are you checking for participants just one time, when the campaign launches? Or are you checking Perpetually? Here is where we will tell you!
- Description – If you choose to write a description on the Settings tab, it’ll show up here!
- Launch Date – The exact launch day and time!
- Status – This is where we will tell you if the campaign is Retired, Active, Under Construction or Paused.
Nitty Gritty Automation Stats
Lastly, you’ll see the Campaign Totals section. In this section, there are 7 different categories:
- Qualified – The amount of contacts that qualified for the automation. An important note is that this will encompass any contact that qualified, whether they are mailable or not.
- Sent – The amount of emails that were actually sent out.
- Opens – The amount of unique opens that have occurred.
- Clicks – The amount of clicks that have occurred. In this box, we let you know how many actual unique contacts clicked within the email.
- Visits – The amount of visits that occurred from this email. These will be contacts that clicked through to your site and spent time browsing.
- Bounces – The amount of emails that bounced when the system attempted to send. In Net-Results, we will attempt to send an email 3 times. If we are unsuccessful three times it is marked as a hard bounce which would be recorded here.
- Opt Outs – The amount of contacts that unsubscribed from communications in this campaign.
- Spam Reports – The contacts that marked your email as “spam” in their email client.
Check out this video to learn more!