Configuring your Form Builder is part of your initial setup on the Net-Results platform. However, before you can complete this key step, which will allow you to create and leverage forms, you’ll need to ensure your domain branding is in place.
What Is Domain Branding?
Domain Branding refers to the technical standards that help Internet Service Providers (ISPs) and other receivers validate the identity of an email sender. To ensure the best customer experiences for your prospects and the highest deliverability you need to “tell the internet” that Net-Results is “authorized” to send emails on behalf of your domain.
Essentially, when you launch emails through any system other than your own email servers, ISPs and spam filters think: “Hey… This email says it is coming from YOURDOMAIN.com, but it’s not coming from their email server. Maybe I should reject it.”
We never want your emails to be rejected. Implementing domain branding will help ensure that that does not happen. The setup is straightforward and easy. It only involves adjusting some settings in your Domain Zone File.
The Customer Success team will generate these records for you & send them over after your first onboarding.
Configure The Form Builder
A few CNAME Records will be included in the records that are sent for Domain Branding, one of them allows forms to be hosted on Net-Results.
To begin configuring the Form Builder now that your Domain Branding is in place, you will need to create a form. This doesn’t have to be anything detailed. We’ll walk through creating a quick form now. You can go back and edit this form after setting everything up, or you can create a form that you know you will need from the get-go.
You’ll be using “forms.yourdomain.com” for this configuration.
Follow these steps to configure your form:
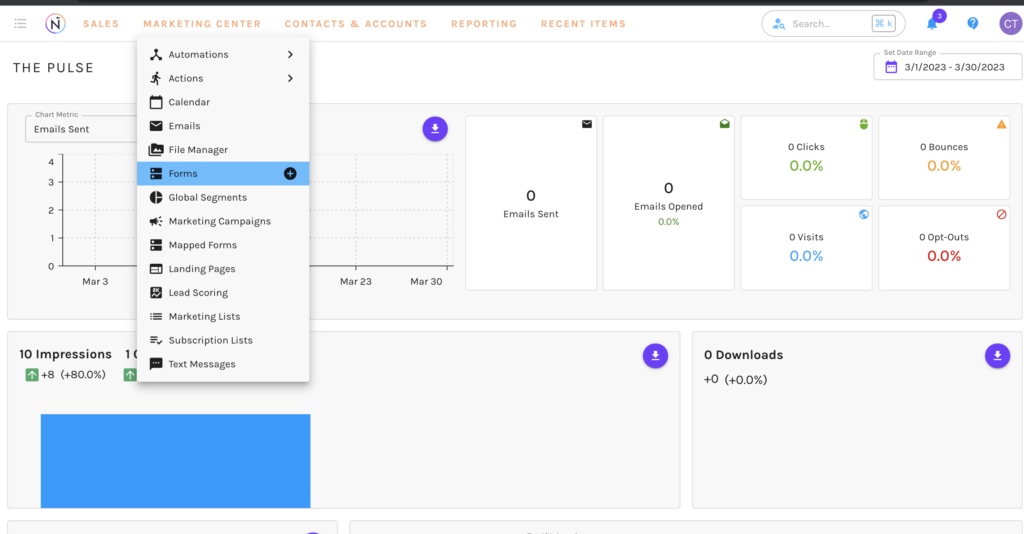
- Log in to Net-Results and navigate to the Form Builder, under the Marketing Center.
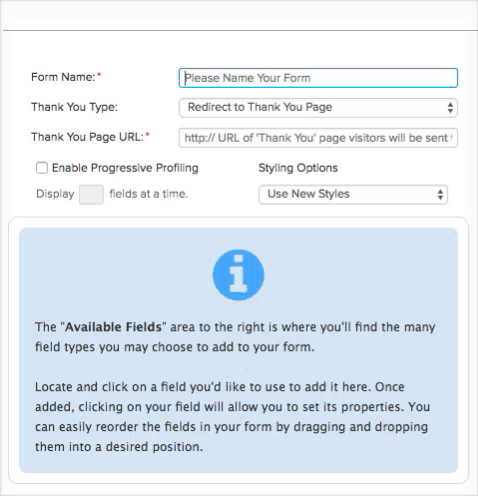
- Create a new form. You’ll need to name your form and also choose a “Thank You Type”.
- Choose Thank You Message for now & type a quick message in the text box.
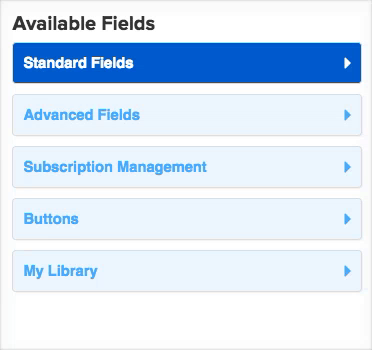
- The Available Fields will be over on the right hand side of the Form Builder. You will always need to have at least one form field & a submit button in order to save a form.
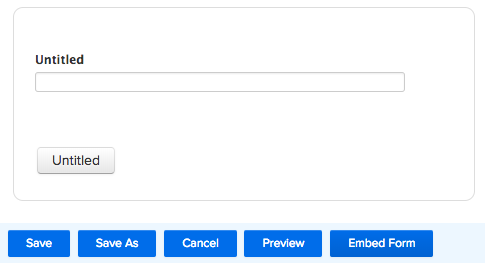
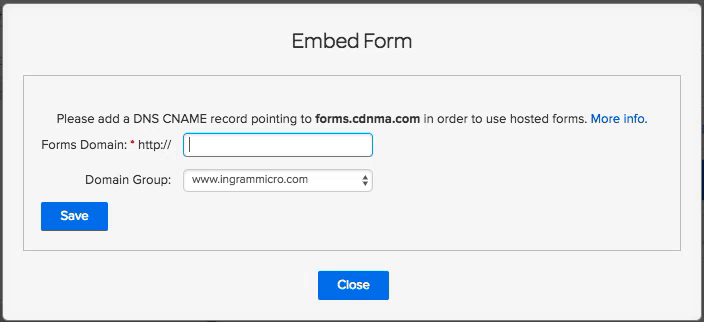
- Go ahead and select a “Single Line Text” field + a submit button. Your form will look like the below. Hit Save at the bottom. Then, hit the Embed button over to the right.
- In the module that appears, enter in the domain where you will be hosting your forms. When you hit save, you’ll now have access to the Hosted Source & HTML Source for embedding your forms.
Hosted Source provides support for both Progressive Profiling and pre-population of fields. Hosted Source consists of an html that contains a bit of javascript that will pull your Form into the location of your choosing. If you embed the Hosted Source of a form, any changes that are made to the form in Net-Results will be reflected where ever the hosted source code is embedded. No manual updating here!
HTML SOURCE does not support Progressive Profiling or pre-population of fields. Using HTML Source is not recommended unless you have a specific reason to use it. Using HTML Source is effectively using the Net-Results form builder as an html generator. If you embed the HTML Source of a form, you will need to manually replace the code where ever it is embedded if a change is made to the form in Net-Results. Woof – not fun.
Check out this video to learn more!