Embedding Forms
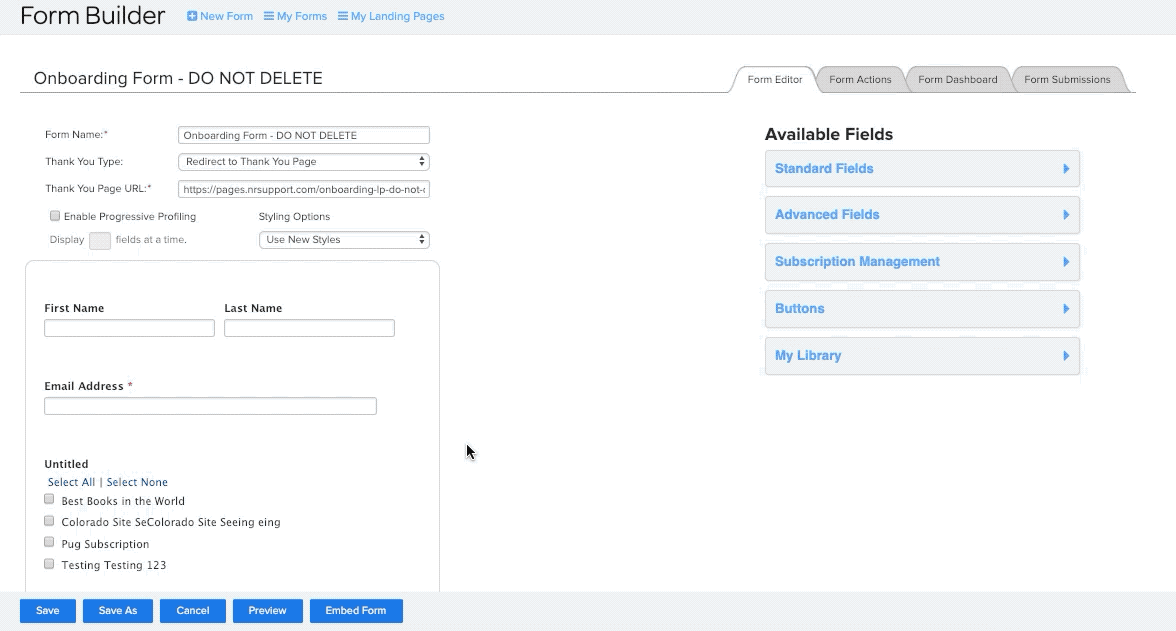
You may embed any Net-Results Form on any of your existing websites. To embed a form go to your form in Net-Results and at the bottom of the page in the button bar, click on the “Embed Form” button.
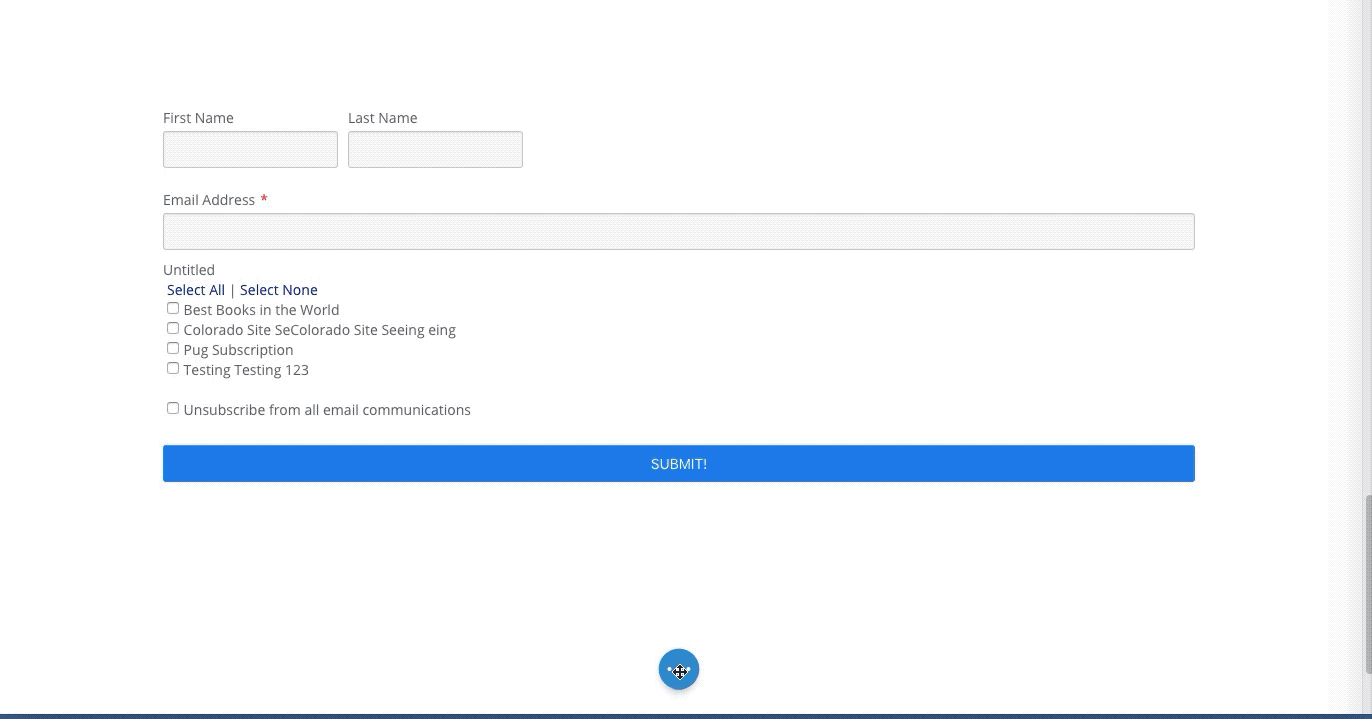
Once you have the code you will simply paste it into your webpage or, if you are leveraging Net-Results Drag & Drop Landing Pages, you can use the Form Module to embed the form directly onto your Landing Page.
Hosted Source
The Hosted Source code consists of an HTML that contains a bit of javascript that will pull your Form into the location of your choosing. It allows for content to be dynamically updated, so if you edit your form in the future you will not need to go back and embed new code. It also provides support for both Progressive Profiling and pre-population of fields.
HTML Source
The HTML Source does not support Progressive Profiling or pre-population of fields and will not appear as an embed option if you have a Thank You Type of “Display Thank You Message chosen for your form. Using HTML Source is not recommended unless you have a specific reason to use it as it is effectively using the Net-Results form builder as an HTML generator.
Styling Forms
Net-Results Forms come with default CSS (styling) applied. It’s easy to override these default styles and ensure that your forms appear just the way you’d like or to match your current website. I promise, it’s not as complicated as it sounds.
You can download the CSS Style Sheet Here.
While pretty comprehensive, this styling sheet does not include all of the different styles that you can apply to edit your form and with some coding you are able to add more options. Need to learn more about CSS? We LOVE W3Schools! Check them out to learn more about CSS, HTML and more!
Using Selectors
The styling sheet linked above contains CSS selectors that, when added to a landing page, will target all form fields of a specific kind. You can think of selectors as – Targeting a specific HTML element on a page. For example:
body form.maForm input[type=”checkbox”] will style all checkbox form fields
You do not need to use the entire styling sheet and in order to keep the code clean, should only paste the specific selectors that you want to be targeting on the page.
A selector starts at the “b†in body, and ends with a closing bracket “}â€
You can add as many other CSS styles as you’d like in between the brackets. Make sure the syntax is correct and that you end it with a semi-colon!
Styling a Single Form Field
But what if I want to style only one specific form field, but I have multiple of the same type on my form? In this case, you will need to set a specific CSS Class Name for the field element you wish to style. This is done under the Advanced tab on your actual form.
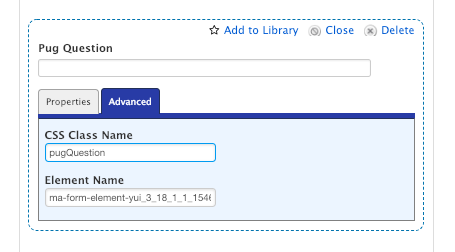
Now add the Form on a Landing Page and target that specific form element leveraging the following syntax:
NOTE: A period must be included in the Class Name in order to target it.
When using this syntax to style a single field of a type, as well as the CSS styling sheet we provide, the more specific selector will take precedence. That is to say:
If you have three single line text fields and one of them has a class name of “pugQuestion†and you use the following code:
The pugQuestion field will have a height of 400px, while the other two single line text fields will have a height of 15px.
Where to add CSS
The CSS styling sheet will be added to your Net-Results Landing page that houses your form at the Page Level Settings. Navigate to the “…” at the bottom of the page, then select the cog wheel to edit. Your CSS styling sheet will be added to the Advanced Tab under Custom CSS.
Check out this video to learn more!